


03 Oct DIY | Cosy light
—let the season of cosiness begin—
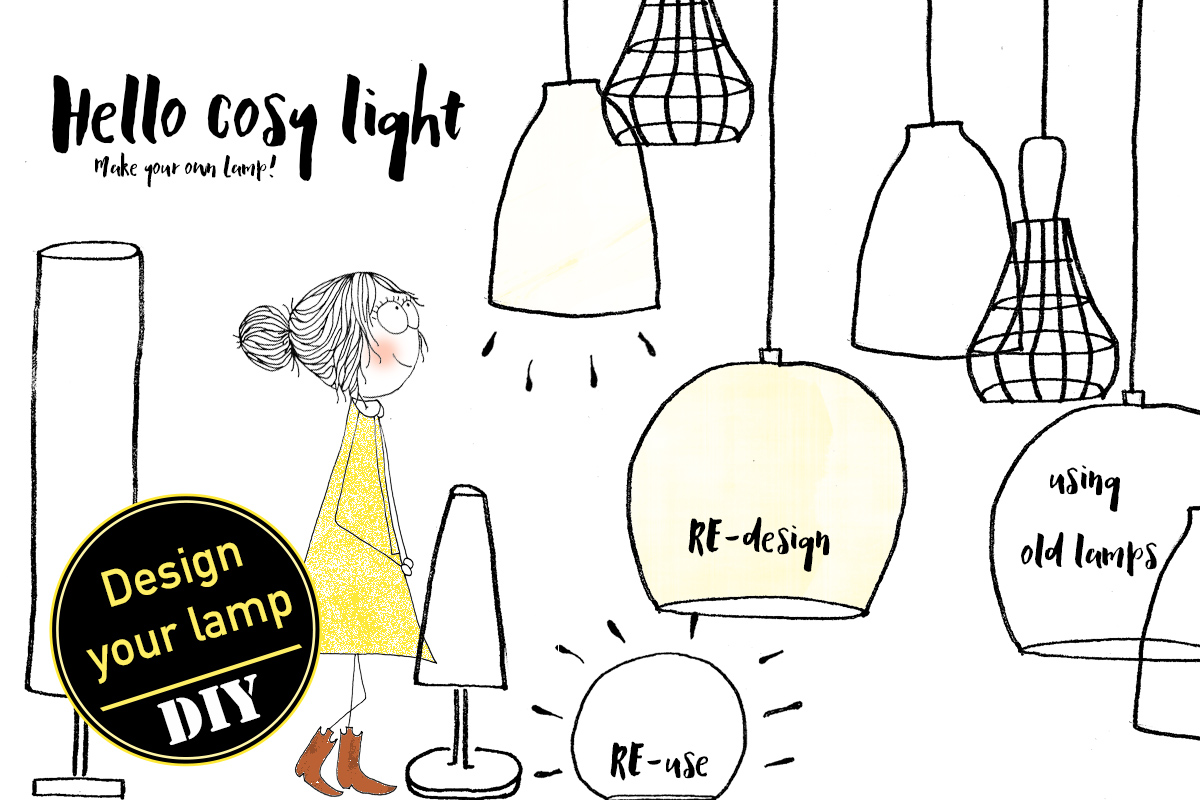
Make your own cosy light
Here I am again. Hope you had a wonderful month in September. Summer is over and the more dusky season begins: Hello autumn!. I often tend to be somehow sad and a little depressed during this colder + darker period due to the lack of sunlight; but changing my point of view on a lot of things in my daily life, (getting the best out of everything) showed me how these colder and sunless days can offer loads of brilliant moments as well.
Especially when it comes to….. C O S I N E S S. HA! Don’t say you’re surprised now! (how dare you!)
Why season of cosiness?
I tell you why:
I relate cosiness among other things to moments where you can be on your own, sitting on your comfy couch, reflecting about your life, your day, philosophizing (with a glass of red wine) or simply reading a good book at a cosy corner in your apartment or house. During my architecture studies in Aachen, my little apartment was literally filled with little lights (and candles). In Aachen it rains quite a lot, so daylight is quite often grayish over there. But hey, turn these sunless, cloudy moments into cosy ones. As soon as it was getting darker I put all these tiny shiny bulbs on to get this soft, warm relaxing + cosy atmosphere.
Candles and little lights = perfect accessories for more cosiness.
Cosiness to me, also means having some peace of mind, to put in a nutshell: FEELING GOOD.
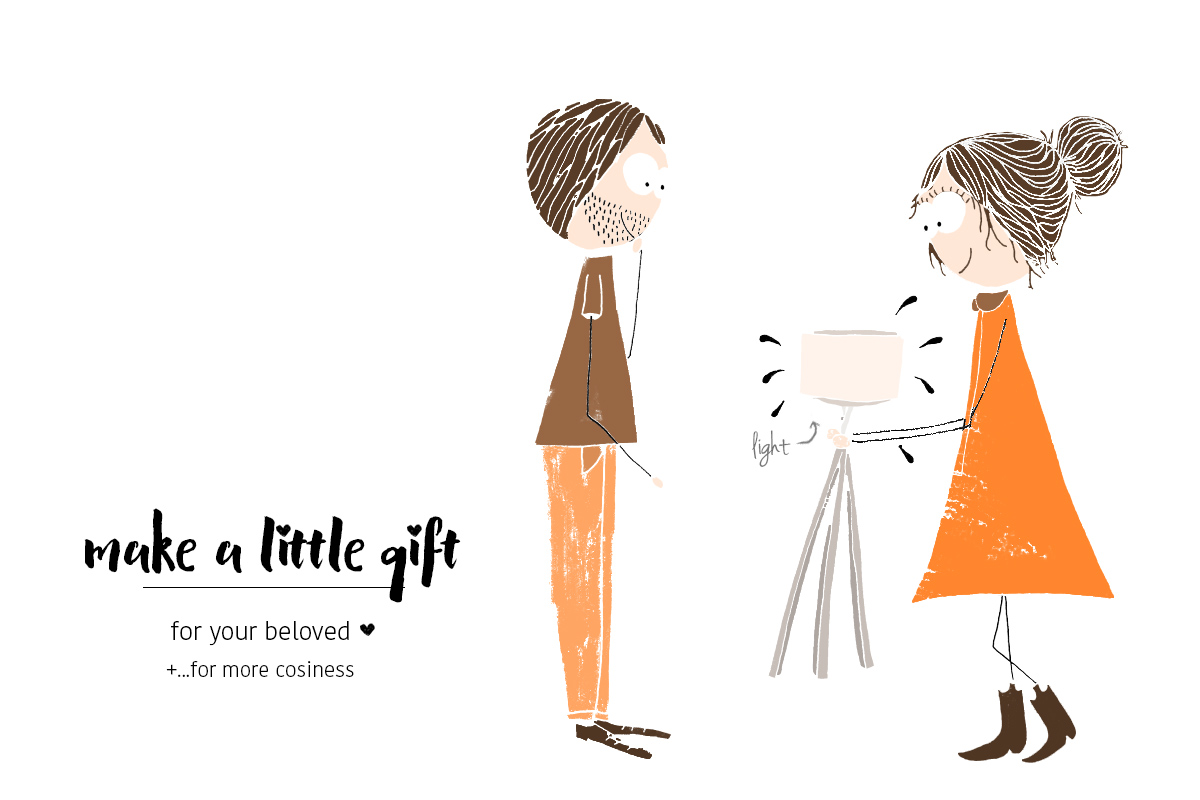
Why not making your own lamp and offering it to someone special? Making little gifts to your beloved ones will without any exception make you feel good. Giving can often be more satisfying than receiving. Just try it out: with my new DIY project, which I’ll show you on the following pictures.
Do you have some old, weird-looking lights, which you simply don’t use anymore, but you somehow can’t throw them away? Well.. perfect! Take these for this very simple DIY and you’ll be able to RE-Design them.

I’ll show you what to do:
Here are the materials you’ll need:
- a lampshade
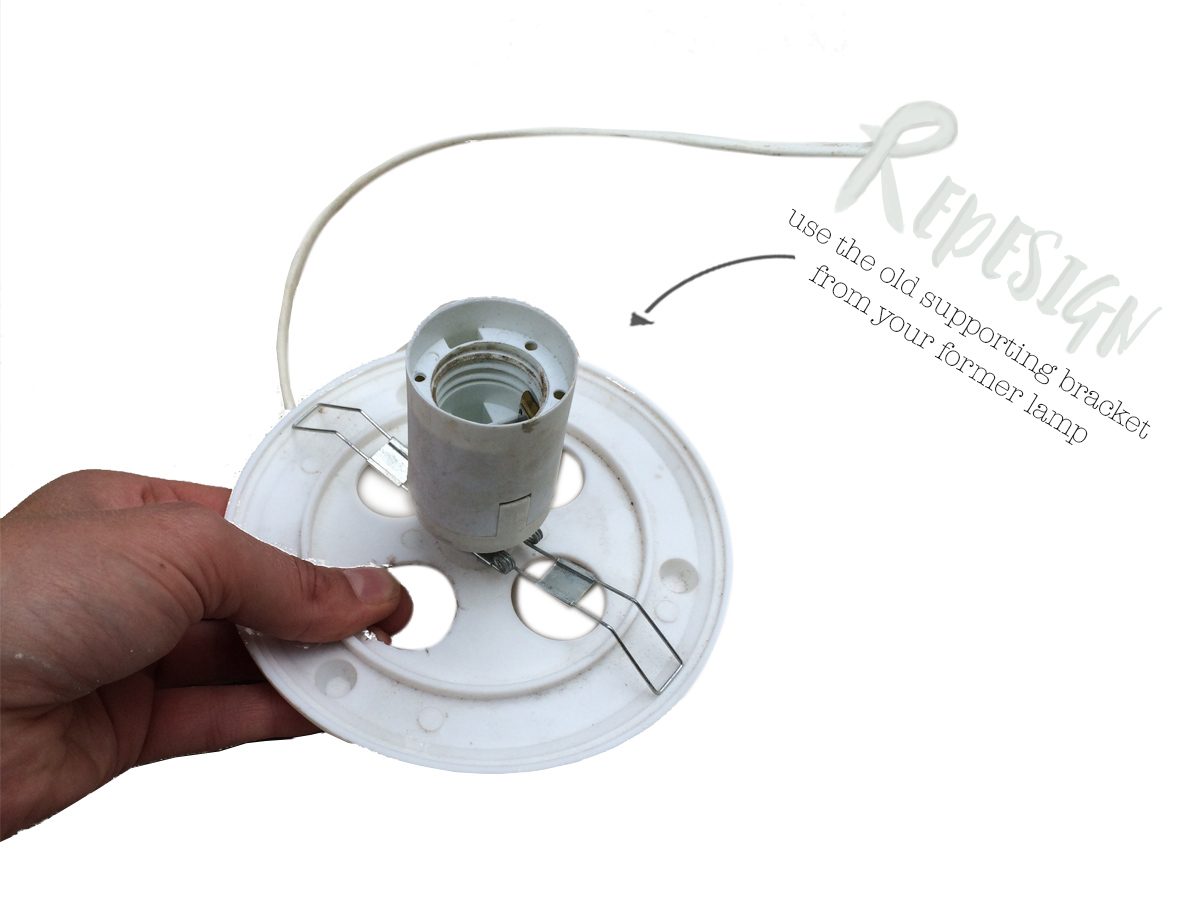
- supporting brackets from an old lamp (RE-cycle, RE-Design,…)
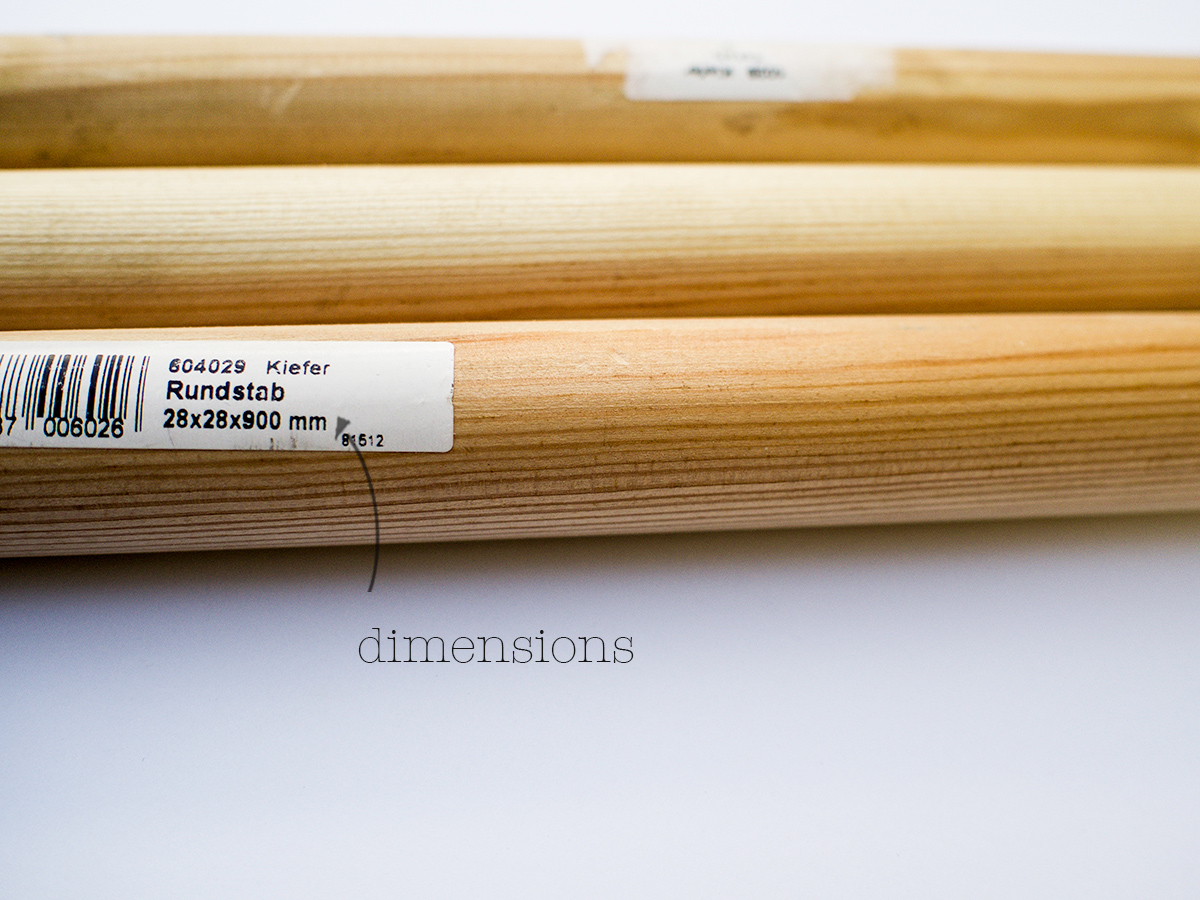
- 3 round wooden bars
- light bulb
- screws
- drilling machine

At the hardware store I bought 3 of these round bars. See the dimension on the picture here below:
It turned out that my old light has become my new DIY victim. Well, I didn’t use it anymore. So I took its supporting bracket for my own LIGHT DESIGN:

Okay, now the more serious part begins. Ready? a) Take your support and drill 3 holes equidistant to each other (triangular) into your light holder. b) Also, pre-drill 3 holes into your round bars. c) Then, screw them together.
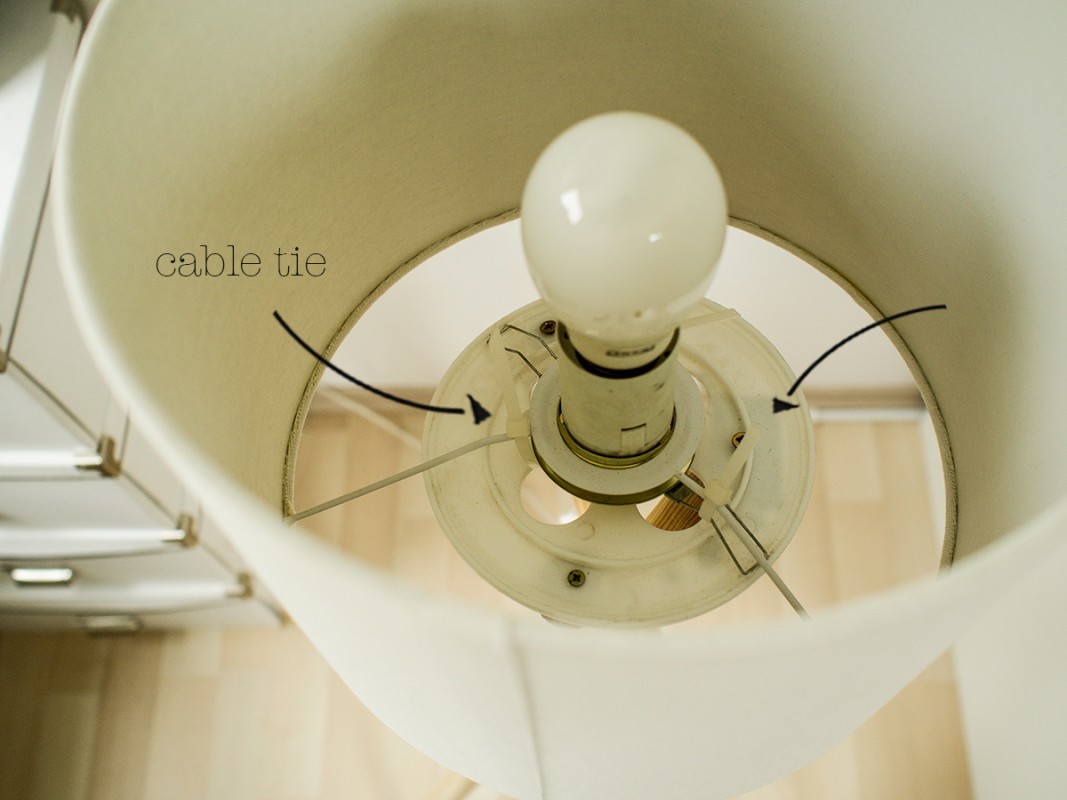
For the lampshade I simply used cable ties to fix it onto the holder. This clearly depends on the holder you’ll use. For my case it worked quite well as I could adjust the position of the lamp afterwards.
You can even change the position of the round bars:

Or maybe you prefer this position:
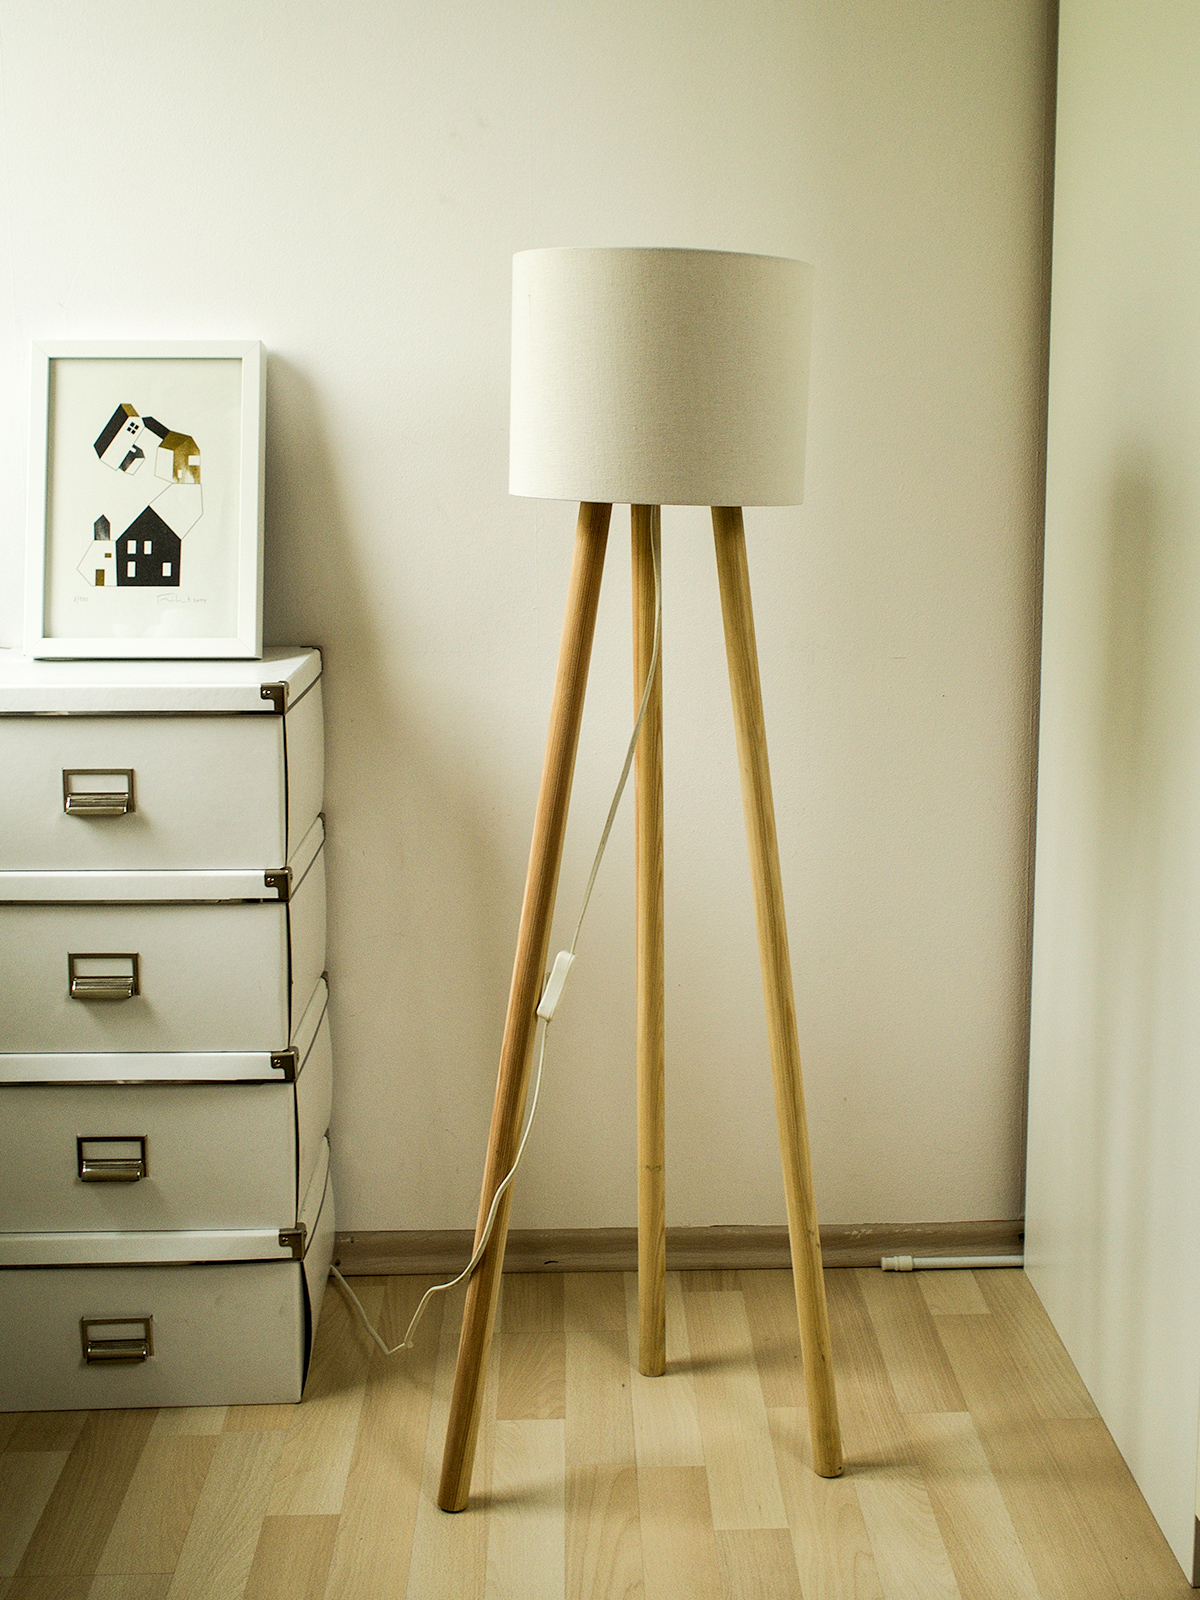
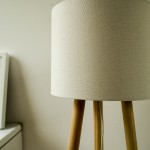
AND THAT’S ALL. Only 3 steps to RE-Design an old lamp and give it this really trendy, minimalistic, Scandinavian style. (which is by the way a cosy style, höhö)
As you see you can do a lot out of old materials. Have an open mind. Look around you and be inspired.
It’s not that difficult to live a creative and cosy life ♥
Lynn